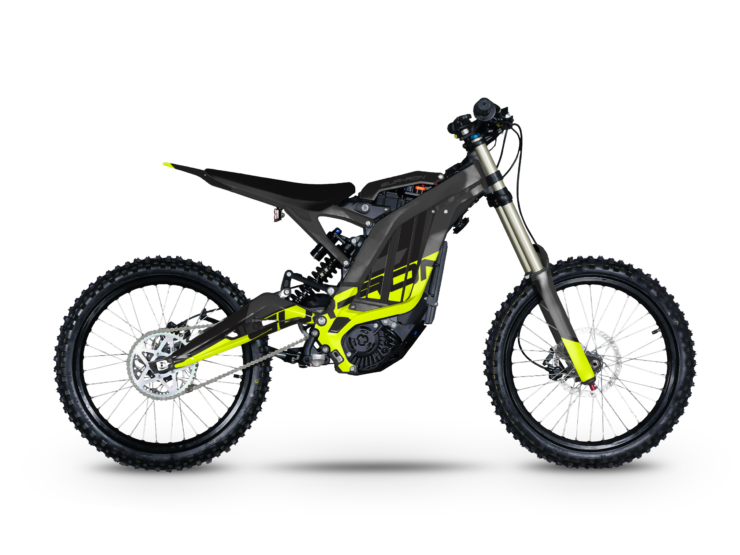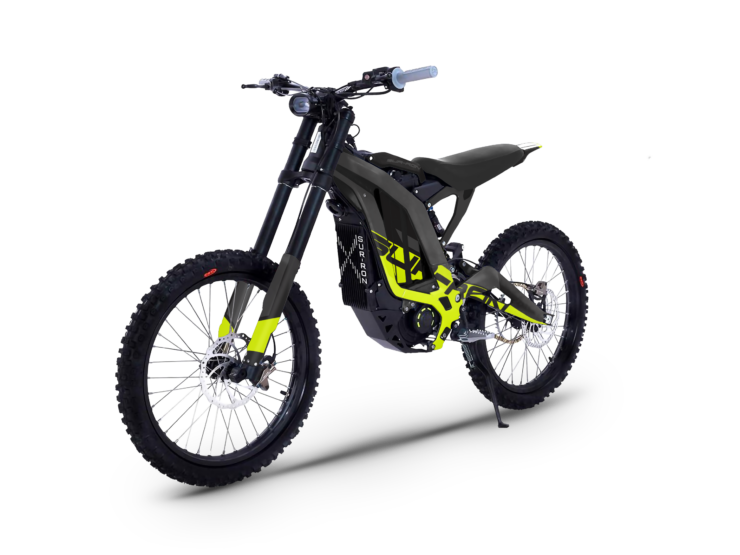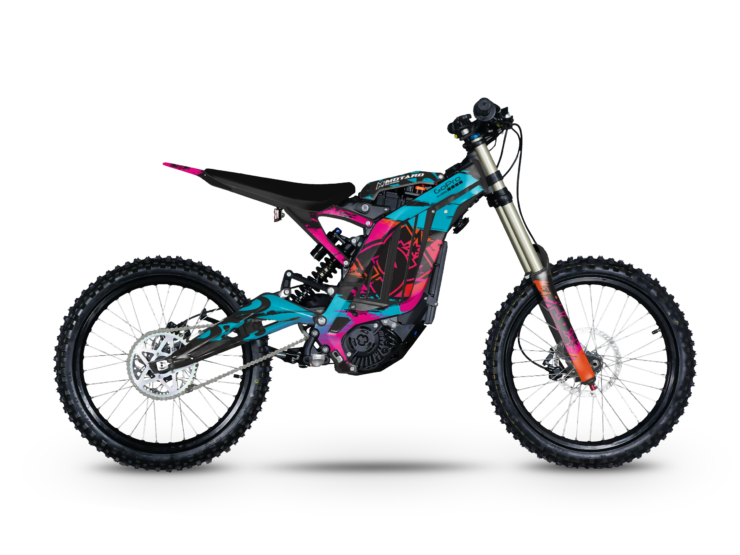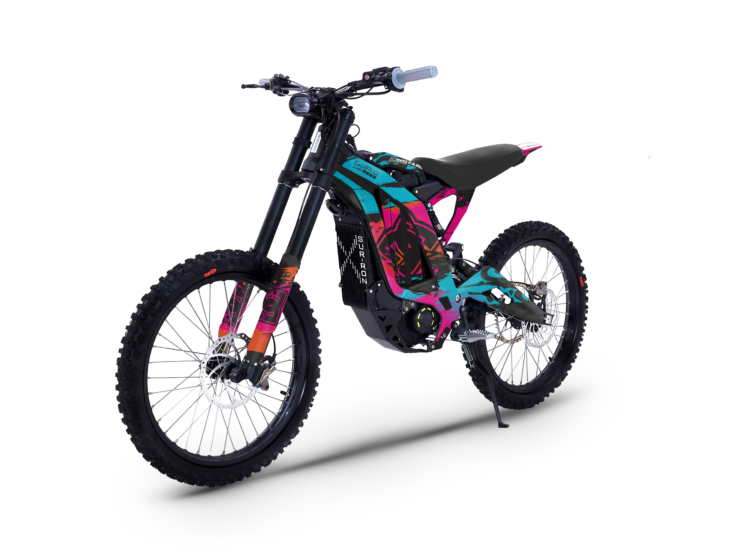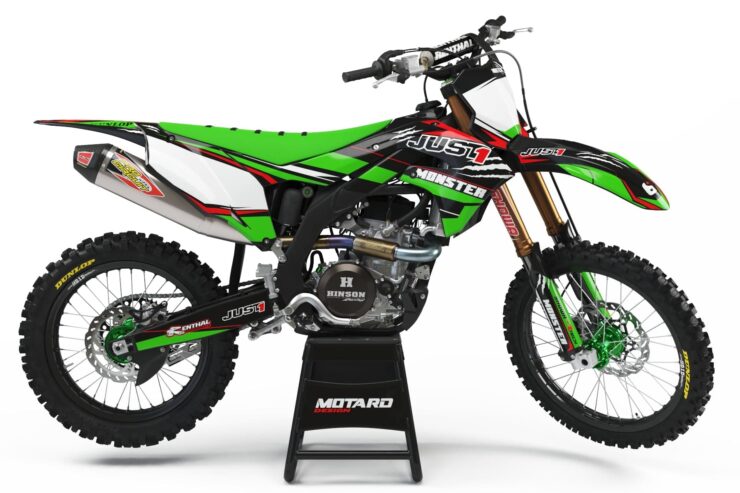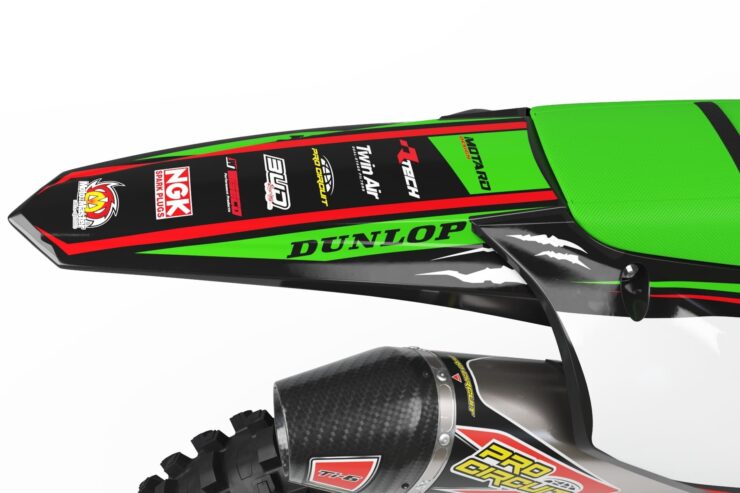


graphic kit for SUR-RON / TALARIA BLUE
129,90 €
Oživte svoj SUR-RON alebo TALARIA s naším jedinečným grafickým kitom! Získajte bezplatné úpravy a rýchle dodanie, zatiaľ čo si užívate najvyššiu kvalitu materiálov a profesionálny dizajn na mieru!
INFORMATION:
Changing one logo, the race number, and the rider’s name incurs no additional fees; this service is included in the price of every graphics kit. We ship within 24 hours after payment/design approval. Custom designs will be created based on customer specifications and sent to their email address for approval before printing.
ORDER PROCESS:
Upon receiving the order and design approval, the graphics will be produced and delivered as a top priority. The package is usually shipped within 24 hours after payment/approval and should be delivered by courier the following business day.
QUALITY:
We use only the highest quality materials available on the market with FLO technology (bubble-free application of decals). All our graphic designs are printed using high-resolution DPI and laminated with the most durable materials available. You can choose from classic or full chrome materials (surface finish options include glossy, matte, frozen, or gold/silver glitter).
NOTE:
This product is not an original item from the motorcycle brand (the manufacturer is Motard Design). The final design colors may not exactly match the design in the product photograph.
INSTALLATION:
Before you begin, ensure that your graphics are suitable for your motorcycle. If any issues arise, contact us via email before applying. Send us precise information to info@motard-design.com with all the details of your order.
1. Remove the old graphics or stickers using technical gasoline. It breaks down the chemicals in the adhesives and evaporates after a few minutes (it is important to remove all old glue). Finally, clean all greasy surfaces. DO NOT USE WATER on the adhesive side of the decals; they should be applied dry. I recommend starting the installation on a small part of the motorcycle, such as the swingarm or fenders, to gain skill in doing it correctly.
2. First, peel back a piece of the backing paper, about 10 cm, fold it back, and cut the paper. Then place the decal on the relevant part of the motorcycle and gently press it into place. Next, check the decal’s layout to ensure it fits well on all sides (check the holes for screws and vents). Decals are somewhat moldable; if you veer slightly, you can pull the decal back into place or even use a heat gun to soften it for gentle shaping.
3. Pay special attention to the edges. These are the main areas that need to be heated right before application; otherwise, the decal will be stiff and won’t bend well around the edge. Be careful to touch the adhesive side of the graphics as little as possible. Once the graphics are fully applied, press everything down firmly.
4. Once everything is complete, park the motorcycle; 48 hours is the minimum for the adhesive to cure. Try to maintain the motorcycle in a stable temperature range – the recommended temperature is +20 °C. In the case of a lifting edge, take a heat gun, warm the decal, and press it down again.